Guideline Setup your shop on SMART SALON
This guideline will help you setup your first very own shop on Smart Salon system.
I. Register new shop
1. Access to this link
https://partners.smartsalon.live/register
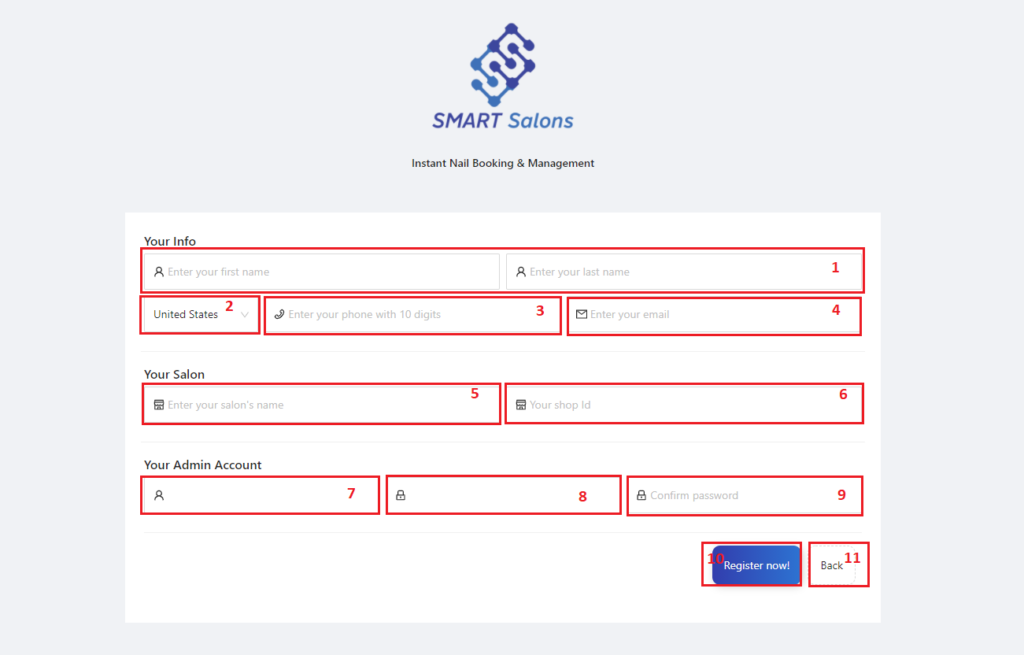
2. Fill required information to register new shop and account
- 1: Input your first and last name
- 2: Select your county
- 3: Input your contact phone number
- 4: Input your Email
- 5: Input your shop name
- 6: Shop ID will be use to access your shop domain on system. This field will be auto fill base on your shop name. You can also change it as you like as long as it unique
- 7: Input your admin account’s user name
- 8: Input your admin account’s password
- 9: Input password again to confirmation
- 10: Click on this button to complete the registration
- 11: Click on this button to cancel the registration
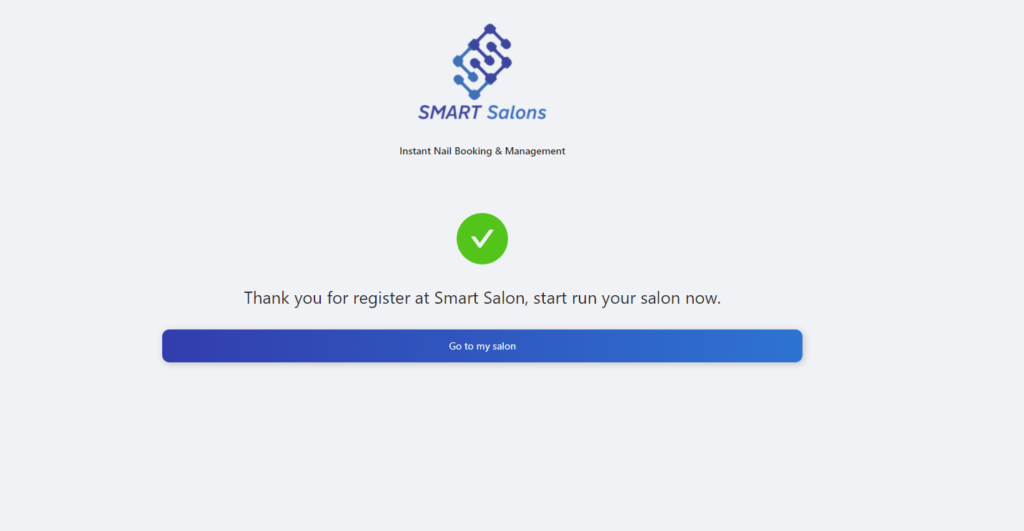
3. After registered your shop successfully. Click on “Go to my salon” and input your shop ID to access system through Web browser or you can download the window application version to use on POS device
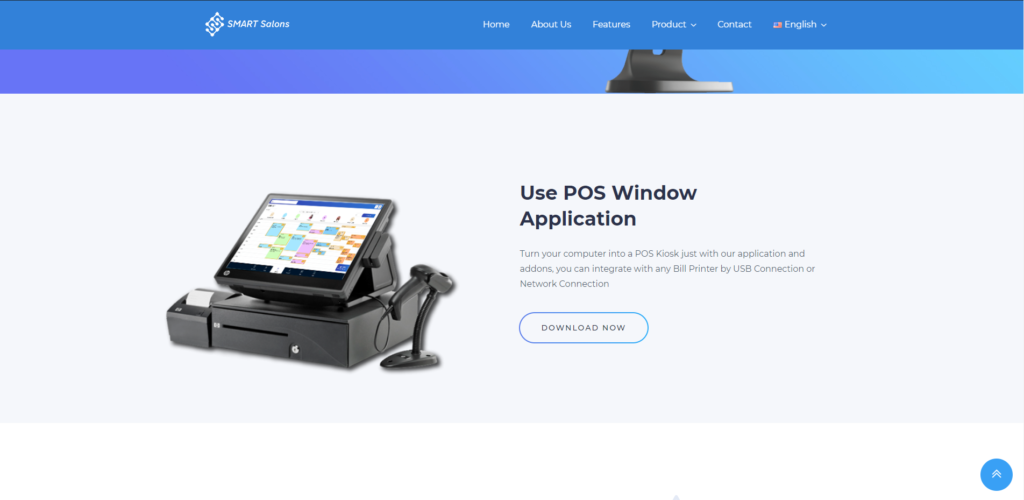
II. Install window application version on POS / Computer
1. Access to this link and click on “Download” button
https://www.smartsalon.live/en/download/
2. Click on “Download Anyway” button to start download application folder from google drive

3. After download finished, open folder that contain downloaded file

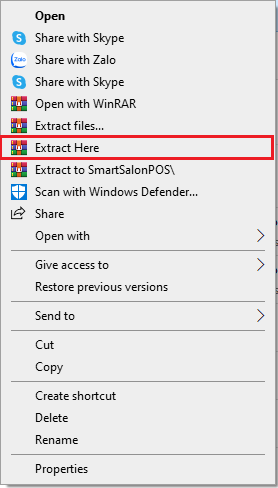
4. Extract file
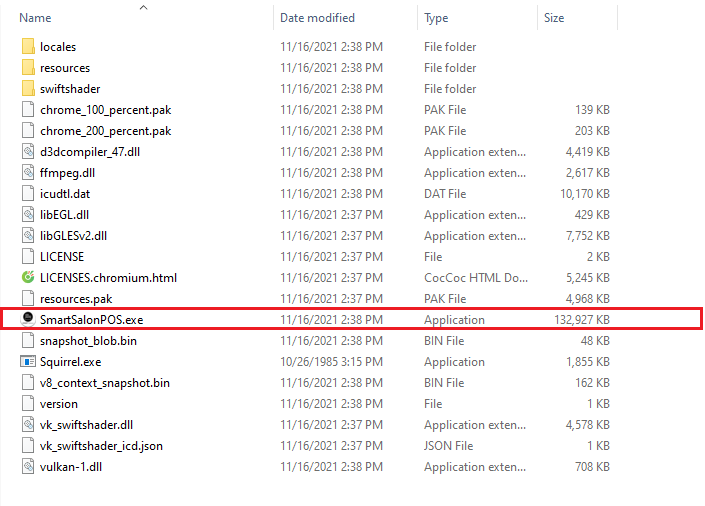
5. Open file folder

6. Find and Run application in folder
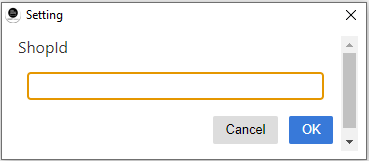
7. Input your shop ID have been created when you registered your shop
8. Input your admin account to access system
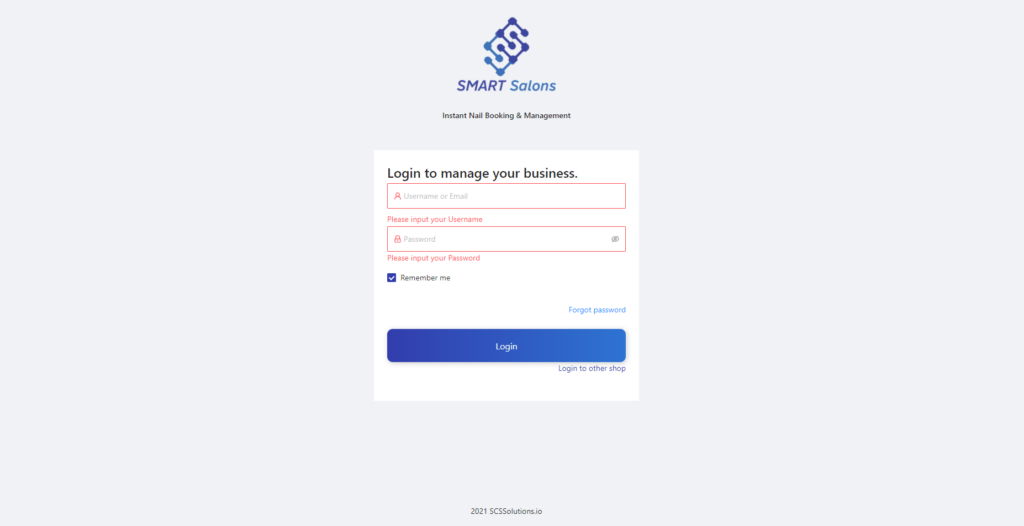
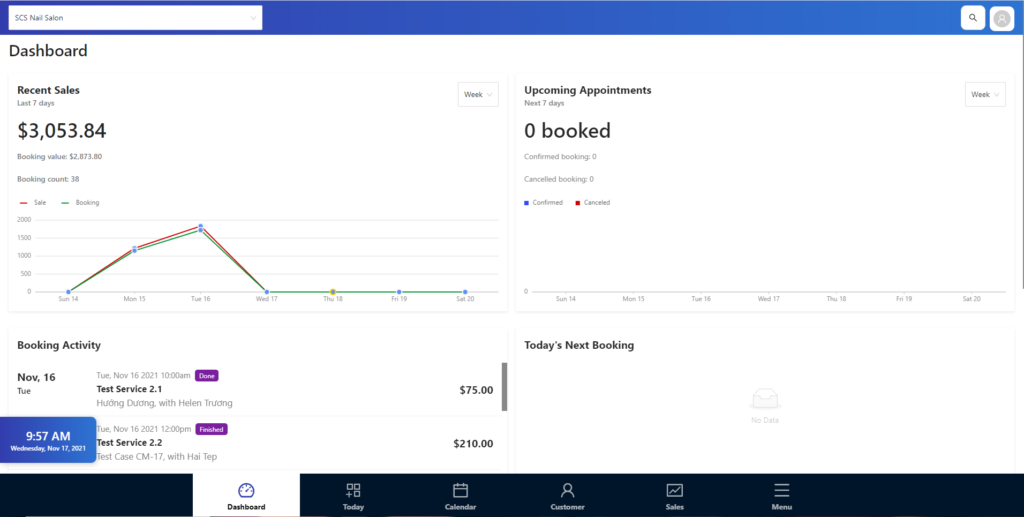
9. Access into your shop on system successfully
III. General Setting
1. Branch Setting
To access this screen, please choose Menu > Setting > Branch Setting
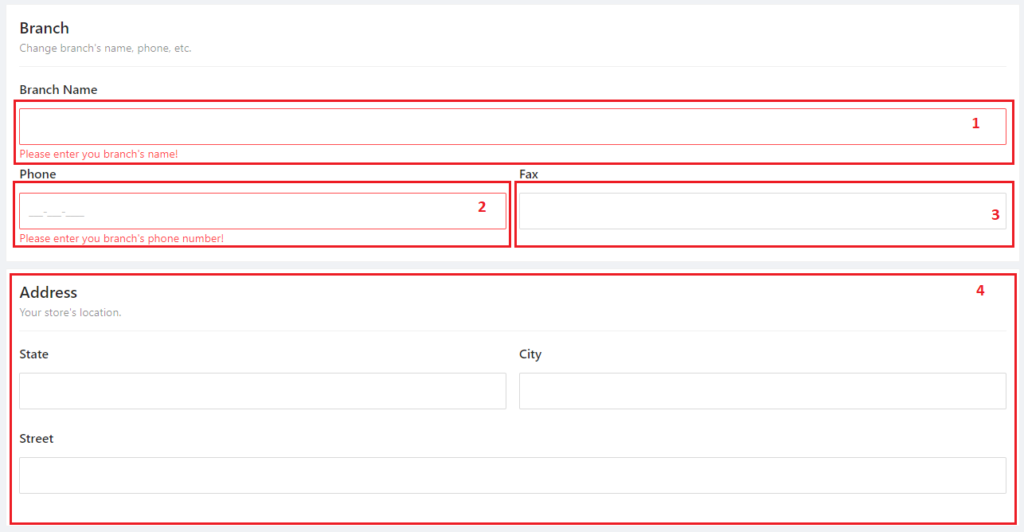
1.1 Branch general information
- 1: Input your branch name
- 2: Input your branch phone number
- 3: Input your branch fax number
- 4: Input your branch address information
- State
- City
- Street
1.2 Setup shop tax rate
- Input amount of tax rate will be applying on branch.
- Tax rate will effect total payment amount of customer

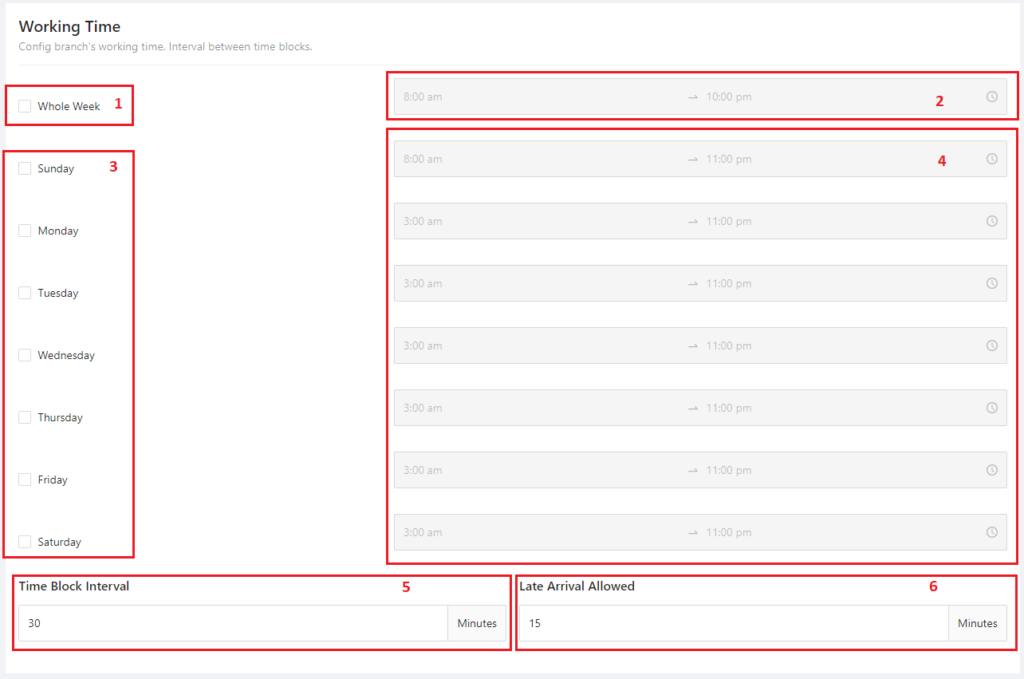
1.3 Setup shop working time
- Setup operation time of the branch. User can setup specific working day and time or setup working day for whole week. Setup working day and time will effect to booking schedule of customer.
- 1: Selected if the branch work for whole week
- 2: When 1 is selected, this field will be enable and user can choose working time
- 3: Selected if the branch work in specific day. This field will be disable when 7.1 is being selected
- 4: When 3 is selected, this field will be enable and user can choose working time
- 5: Select time block interval. This will it will affect the employee’s minute division in hour from the calendar screen.
- 6: Setup how much time the branch will allow customer to come late for their booking. If this time was over and customer didn’t show up, booking will change status to “No show”
2. Printer Setting
To access this screen, please choose Menu > Setting > Printer Setting
2.1 If your shop use LAN connected Thermal Printer
- Select this tab if your shop is using thermal printer that connect to POS device through LAN network to print the receipt for customer.
- You have to get IP and Port from printer and use that to input in configuration field.
- Then click “OK” to apply configuration.
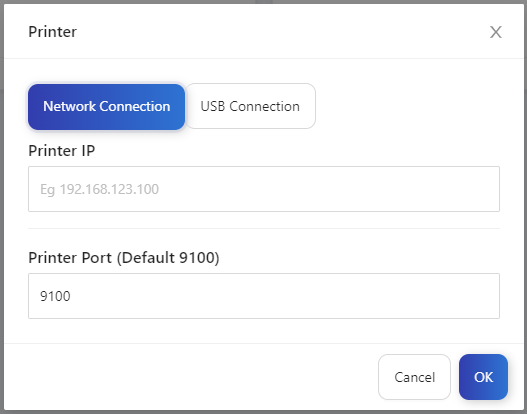
2.2 If your shop use USB Thermal Printer
- To use thermal printer that connect to POS device first you have to install the drive that we attach in the application folder. This driver only need to install one time when you first download the application.
- Find the “zadig.exe” application that contained in zip file
- 1: Open file
- 2: Select Option > List All Devices
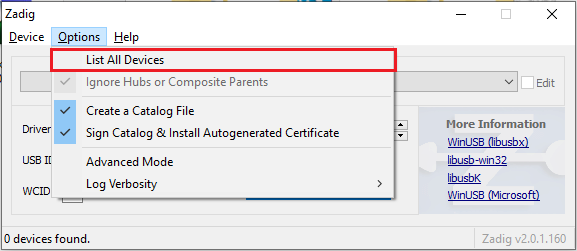
- 3: Find and select your thermal printer device
- 4: Click on Install driver button
- 5: After printer driver was installed successfully, open POS application
- 6: Access to printer setting screen, please choose Menu > Setting > Printer Setting
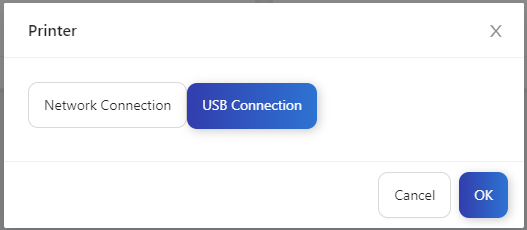
- 7: Choose USB Connection then click OK button to complete configuration for usb printer. Now you can print receipt or check-in ticket for customer through thermal printer.
3. Setup Service
To access this screen, please choose Menu > Services
3.1 Setup category
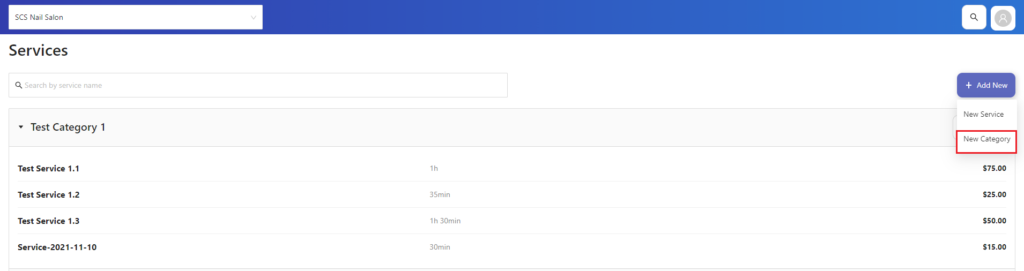
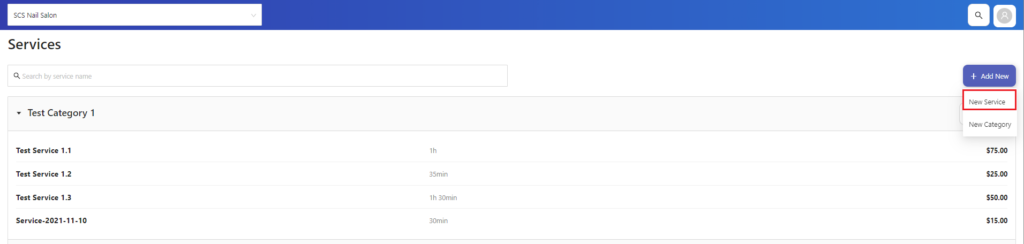
- To add new service, first you have to add new a category to classify your service.
- 1: Click on “Add New” button then click on “New Category”
- 2: Input required information to create category
- 2.1: Input category name that will be show on POS screen.
- 2.2: Input category description.
- 2.3: Toggle to select if category will be show on booking screen and POS screen or not.
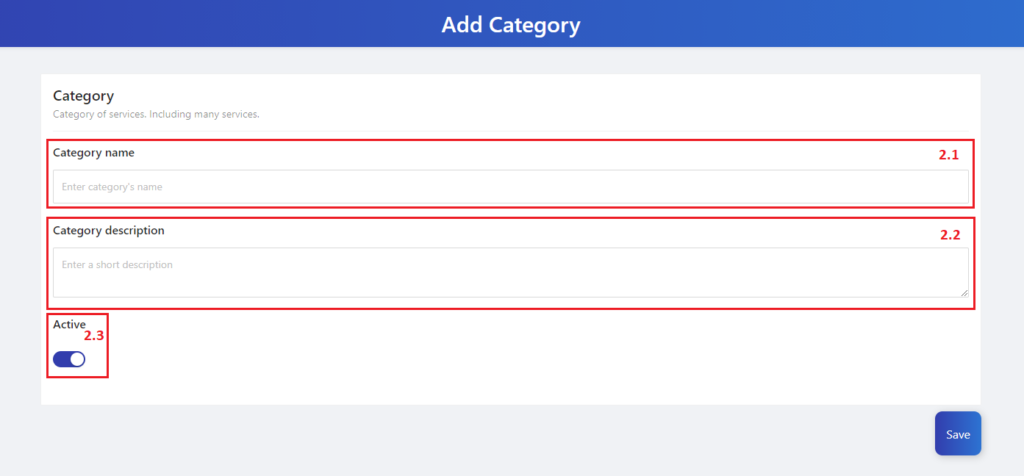
- 3: Click on “Save” button to add new category
3.2 Setup Service
- After finished add new category, now you can add new service for your shop
- 1: Click on “Add New” button then click on “New Service”
- 2: Input required information to create service
- 2.1: Upload picture represent for the service
- 2.2: Input service name
- 2.3: Select which category this service belongs
- 2.4: Input service description
- 2.5: Select service working time
- 2.6: Input service price
- 2.7: Input service supply price if this service applied supply price
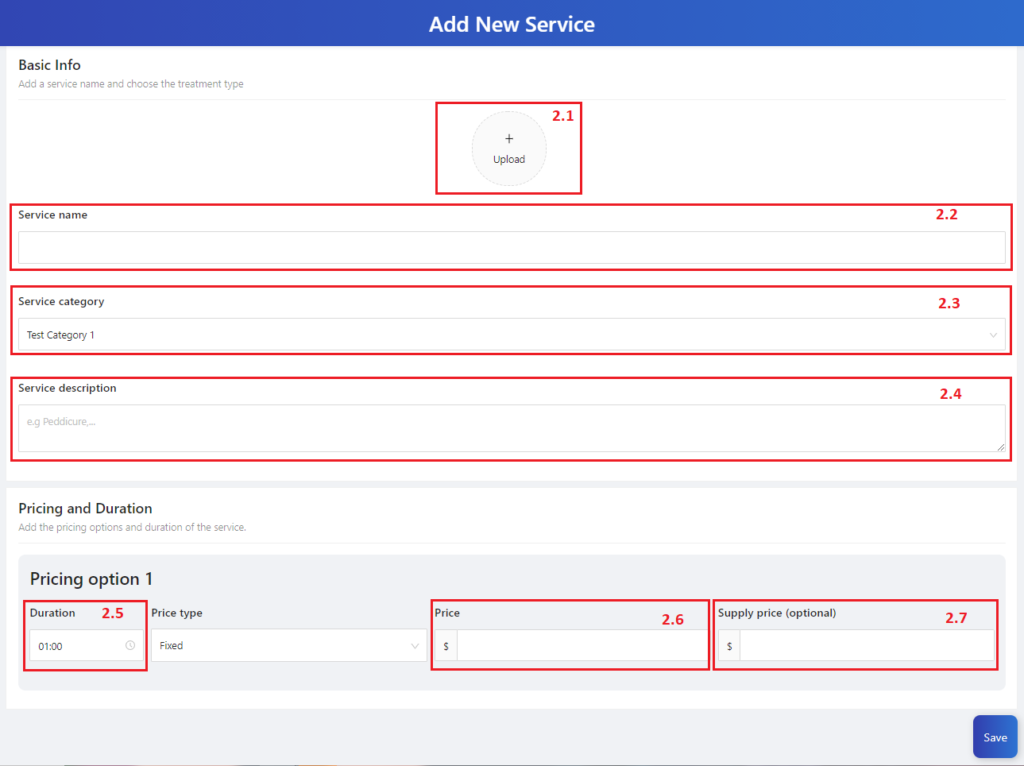
- 3: Click on “Save” button to add new service
4. Setup Staff
To access this screen, please choose Menu > Staff > Staff List
- To perform operation in your shop, it is necessary to create employees in the system
- 1: Click on “Add New” button to access add new employee screen
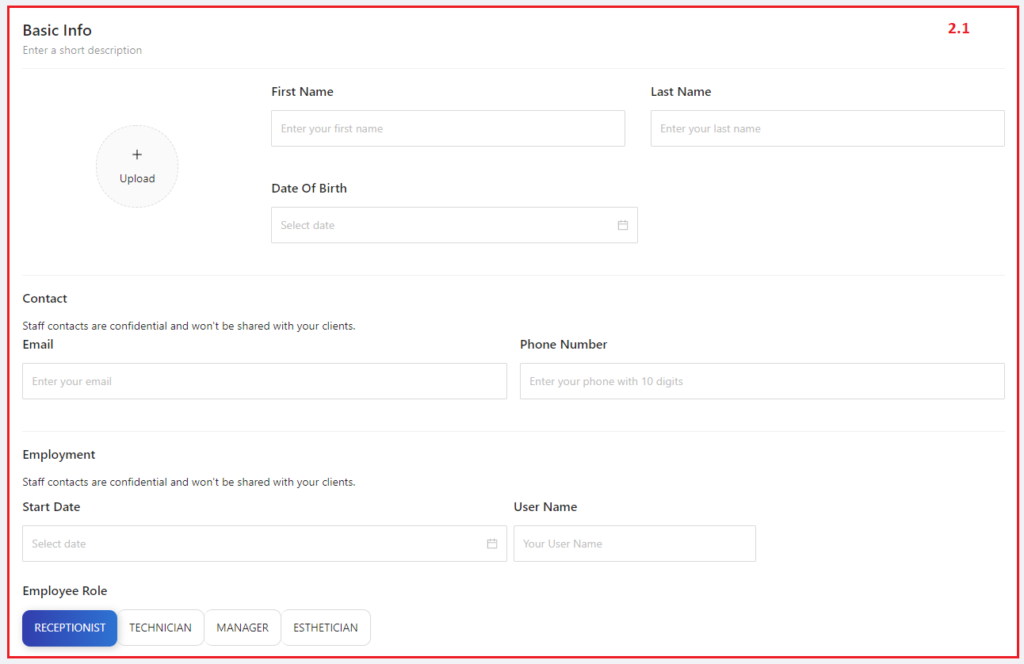
- 2: Input required information to create new employee
- 2.1: Input basic information of the employee
- To start service for customer you need to add new technician employee
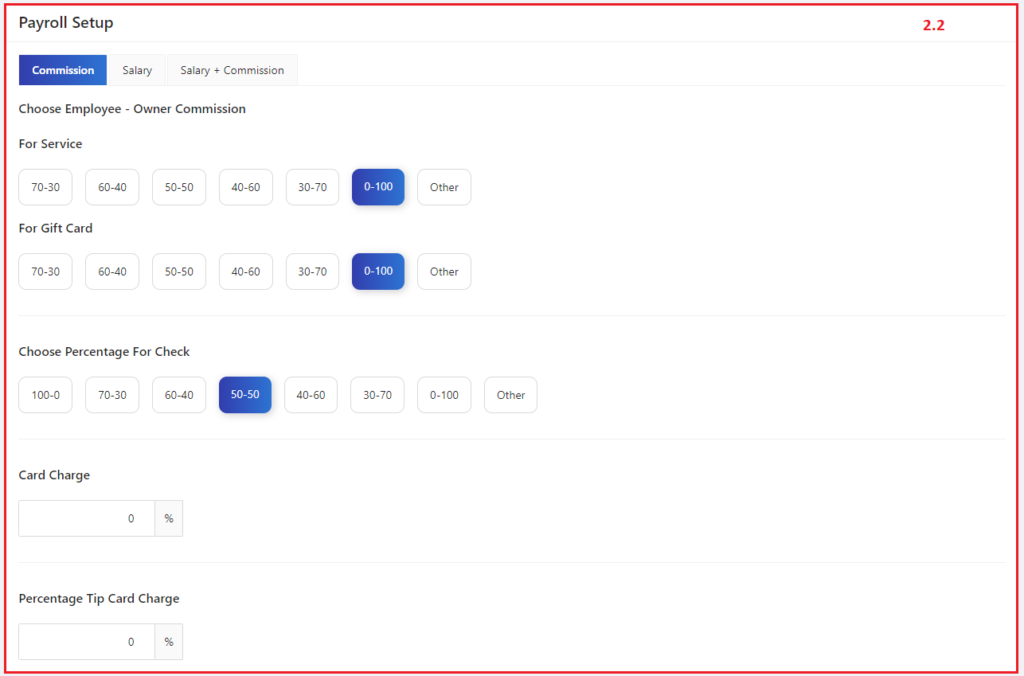
- 2.2: Setup payroll information for employee
- You can choose setup payroll for employee base on hourly, weekly, monthly wage or commission percentage on service.
- You can also setup cash – check percentage payroll for salary payment. Salary will be split into cash and check.
- You can also setup charge fee if you want employees to share credit card fees with them by withdrawing a percentage from commission and want to charge a number of amount tip that employees received through credit card from customer.
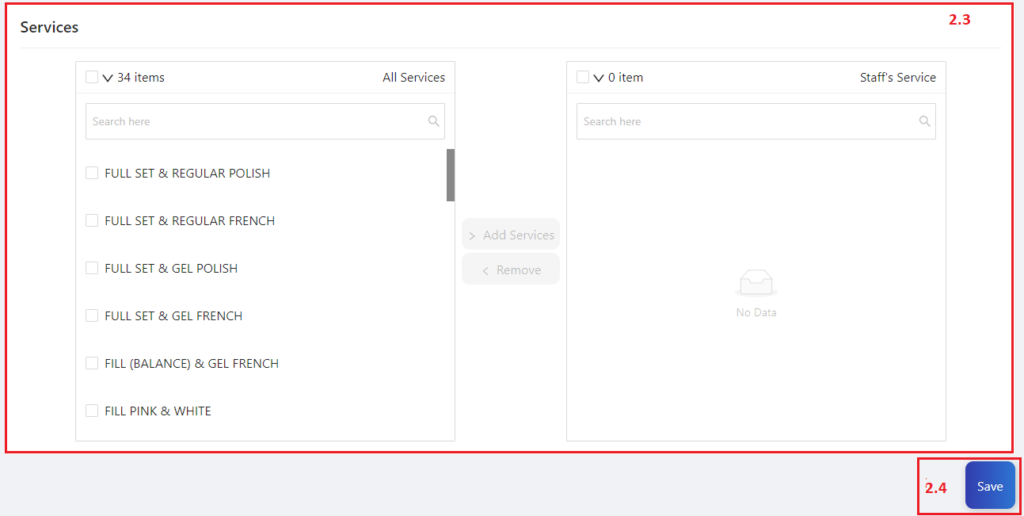
- 2.3: Select and add the service that this employee can perform for customer.
- When you make booking for customer after choose service you need to choose which technician will perform the service.
- 2.4: After setup all information for employee, click on Save button to create new employee.